I just wanted to let everyone know the story of The Wright Hair. I am fairly new to blogging about hair but I have been doing my little girls hairstyles since the day my oldest daughter was born. The first thing out of the doctors mouth was I hope you ordered a girl full of hair. When my 2nd daughter arrived we were not so lucky with the hair genes. She has thin short hair. It was with the frustrations I had trying to do my 2nd ones hair that I decided to start this blog. I figured if I struggled this much there must be others struggling too. I am a working mom and getting my girls ready every morning is the best time of the day for me. This is a time we get to bond without other distractions. Right now my girls and I are enjoying our time together. I am sure it will only be a short time before my oldest wants to do her own hair. But for now we invite you to join us on the Wrights Journey through hair. Because of being a working mom, sometimes we will do fancy dos and sometimes quick dos, other times the do's are dont's but we welcome everyone to come along for the ride.

Tuesday

Sides Back with Braids

Pull her sides back but leave about an inch of hair just above her ears on each side (this is going to be braided) 
Take the 1" hair and make a braid.  Do this on both sides then pull the braids toward the sides back ponytail and secure them overlapping each other with bobbie pins. 


Sunday

Wavy Hair

Our goal is usually to try all kinds of different styles so instead of the crimping or making ringlets we found a wavy iron.  I have included a picture below to show you what ours looks like.

All we did for this cute style was started with the underneath hair and made small parts starting at the scalp and working your way to the ends of her hair.  It is the same as crimping her hair with a crimping iron.   

Wednesday

Fish Tail Wrap

As my daughter is getting older she wants more grown up styles here is one that turned out really cute.
I started with making her far lateral part.  Then I made a fish tail braid on the side of her head with the least amount of hair.  As you can see below it is french fish tailed (if that is what you call it)  then I finished fish tail braiding all the way to the end of her hair.  ***you need to braid the hair long enough that it reaches the other side of her head. 
Once the braid is finished secure it with an elastic. 
Drape the braid across the back of her head and end it above her opposite ear.  Pull the top hair up and secure with bobbie pins the end of the fish tail braid.  As shown below.  Pull the top hair down over to hide the elastic and bobbie pins.  ***if you cross the bobbie pins they stay in much better***

We then swooped the front top of her hair and added a flower over the top to ensure the bobbie pins were hidden. 

Toddler Braids and Ribbons

First start by pulling a small piece of hair across the front of her head and secure it on the side with an elastic. 
Then make a 2nd part and french braid this hair.  Pulling the first ponytail into the braid then secure with an elastic. 
Make a parallel 2nd french braid secure it with an elastic.
Take a piece of ribbon and start at the top weaving it in and out of the braid crossing the ribbon in the center of the 2 braids.
I wrapped the ends of the ribbon around both ponytails and tied the ribbon in a bow.

Saturday

Braid to Ponytail

This is the same style done on both of my girls.  I just wanted to show how different one style looks from different types of hair.

This first set of pictures is of my Toddler's hair.  I made a simple french braid of top of her head I angled it to the left just a little bit.
Then I pulled all the hair including the braid into a ponytail. 
The last step was making ringlets in her ponytail.


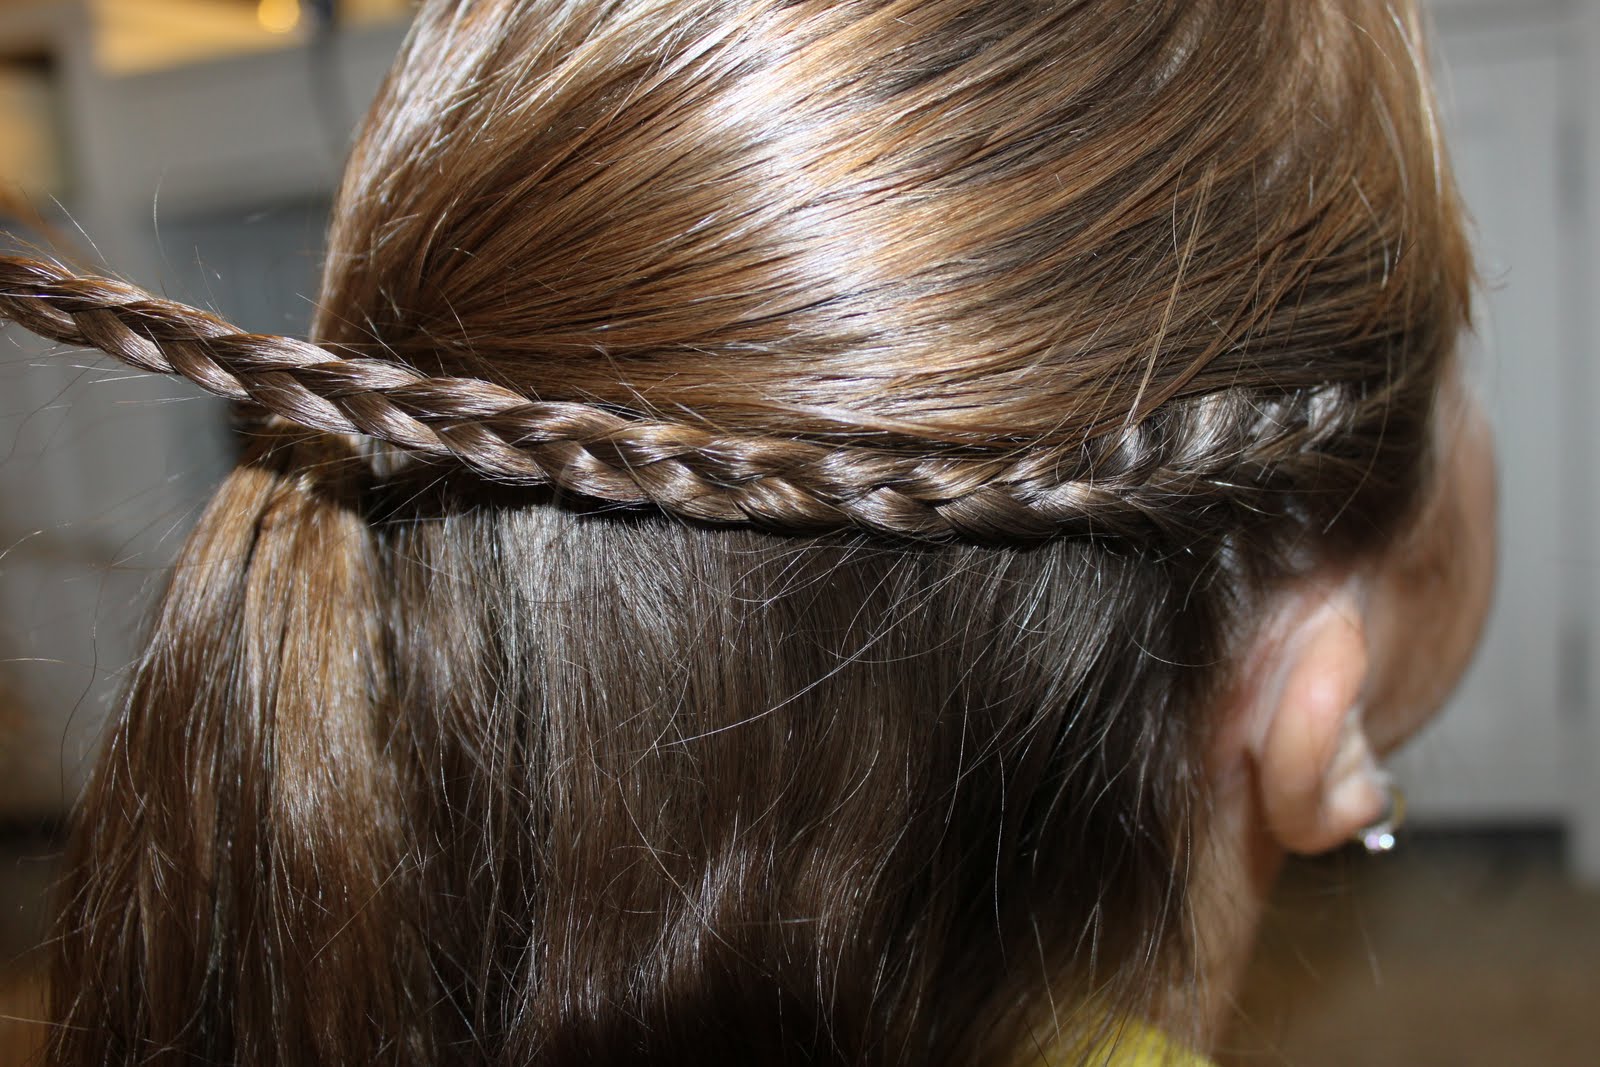
My older daughter is next I did the same french braid along the top of her head.
Then I pulled all the hair except the french braid into a ponytail. 
I wrapped the french braided hair around her ponytail and secured with a clear elastic. 
I also put ringlets in her hair to finish off the ponytail. 


Thursday

2 Braids into Ponytail

This is a fun way to add a little more to your ponytail.

First start by making a square part on the top of her head.  Make a french braid along the back of the square. *shown below* 
Then make a french braid along the front hair line parallel to the first braid. 
Put all the hair except the front braid into a ponytail secure with an elastic.  Then wrap the front braid around the ponytail.  Secure that with bobbie pins or a clear elastic. 
Below is the top view. 
Below is the side view.