I just wanted to let everyone know the story of The Wright Hair. I am fairly new to blogging about hair but I have been doing my little girls hairstyles since the day my oldest daughter was born. The first thing out of the doctors mouth was I hope you ordered a girl full of hair. When my 2nd daughter arrived we were not so lucky with the hair genes. She has thin short hair. It was with the frustrations I had trying to do my 2nd ones hair that I decided to start this blog. I figured if I struggled this much there must be others struggling too. I am a working mom and getting my girls ready every morning is the best time of the day for me. This is a time we get to bond without other distractions. Right now my girls and I are enjoying our time together. I am sure it will only be a short time before my oldest wants to do her own hair. But for now we invite you to join us on the Wrights Journey through hair. Because of being a working mom, sometimes we will do fancy dos and sometimes quick dos, other times the do's are dont's but we welcome everyone to come along for the ride.
Showing posts with label ponytails. Show all posts

Wednesday

Nicole Richie HairStyle

This style was taken from Nicole Richie on Fashion Star TV Show.

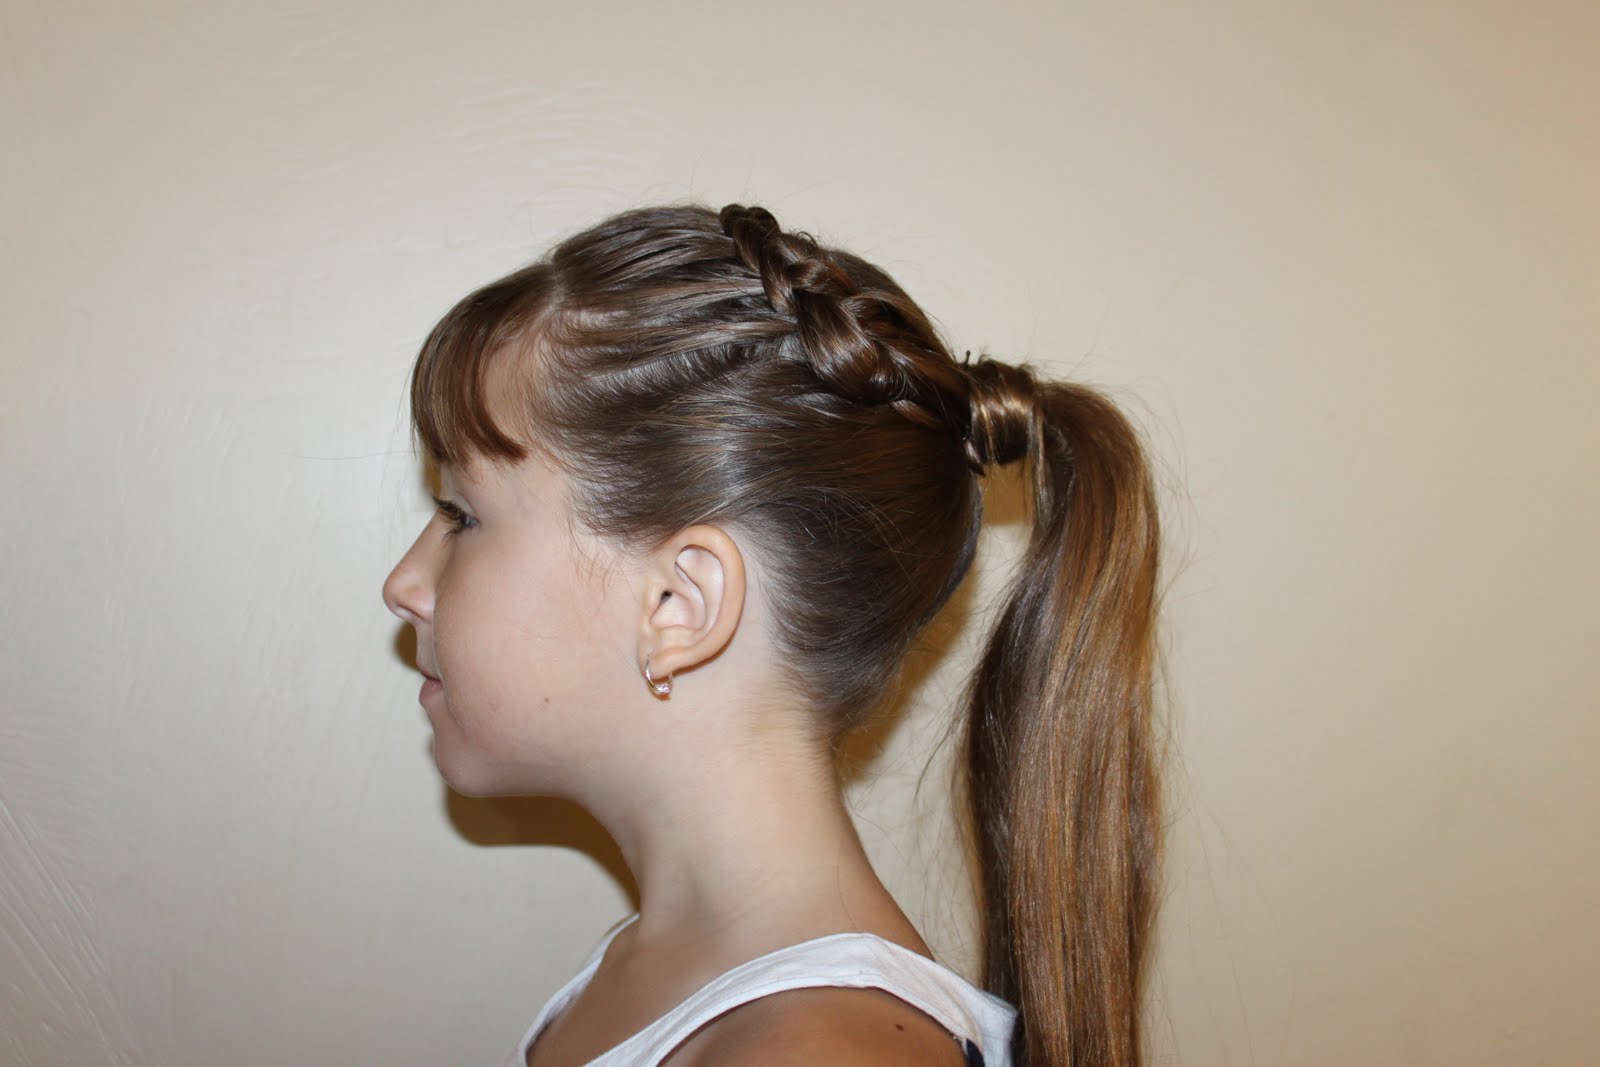
First start by making a high ponytail
Then take a small amount of hair and wrap it around the ponytail holder I secured it with a bobbie pin

Then Fishtail braid the hair all the way to the end. (remember a fishtail is 2 strands of hair)

Secure the end with an elastic

Saturday

Braid to Ponytail

This is the same style done on both of my girls.  I just wanted to show how different one style looks from different types of hair.

This first set of pictures is of my Toddler's hair.  I made a simple french braid of top of her head I angled it to the left just a little bit.
Then I pulled all the hair including the braid into a ponytail. 
The last step was making ringlets in her ponytail.


My older daughter is next I did the same french braid along the top of her head.
Then I pulled all the hair except the french braid into a ponytail. 
I wrapped the french braided hair around her ponytail and secured with a clear elastic. 
I also put ringlets in her hair to finish off the ponytail. 


Thursday

2 Braids into Ponytail

This is a fun way to add a little more to your ponytail.

First start by making a square part on the top of her head.  Make a french braid along the back of the square. *shown below* 
Then make a french braid along the front hair line parallel to the first braid. 
Put all the hair except the front braid into a ponytail secure with an elastic.  Then wrap the front braid around the ponytail.  Secure that with bobbie pins or a clear elastic. 
Below is the top view. 
Below is the side view. 

Friday

Lauren Braid to Pony

This is another Lauren hairstyle from the TV show Make it or Break it.
We just recently cut my daughter's hair and gave her bangs so her style looks a little bit different. 
First start by making a part from front of her ear to the front of the other ear.  Pull the hair in the back out of your way. 
I started just above her right ear and made a french braid.  The key to this braid is pulling the hair under rather than over.  This makes the braid stand up on her head rather than lay flat. French braid all the way across the top front of her head. 
Secure the bottom of the braid with a clear elastic.
Pull all the hair into a low ponytail. 
Take a small piece of hair and wrap the elastic. 

Tuesday

Make It or Break it Lauren Style

We are so excited that Make it or Break it is back on.  This style is from the first week it was back on.  I apologize for the lack of pictures even with my older daughter we have moments of not wanting to cooperate.

 First make a poof center french braid as shown below make the braid loose.
 Make a simple braid on each side with the hair across the front of her face down to her ear. 
 Pull all the hair into a high ponytail.

Wednesday

4 Mini Rolls to Ponytail

For this fun style start by making 4 small rolls as shown below and secured them with elastics.
I made the rolls diagonally across the top of her head.
Then I took the side hair from both sides and pulled it into an elastic with the ends of all 4 rolls.
 Below shows a top view of the rolls and sides pulled up.
Then pull all the her hair into a ponytail.  I took a small piece of hair and wrapped the elastic with her hair.
 Finally I made large ringlets in her ponytail hair.


Biggest Loser Hair

One of the personal trainers on the Biggest Loser had her hair done like this a couple of weeks ago.
I made a diagonal part  then make a poof that is angled onto the left side.
Pull all the remaining hair except a small strip as shown below into a ponytail.
Take that small piece of hair and pull it up and around the ponytail.  I secured this hair with a clear elastic
I finished the ponytail off by putting ringlets in the ends.

Poof, Braids and Ponytail

Start by making a poof in the front of her head. I used 2 small bobbie pins crossing each other to give it a little bit bigger poof.
Take the right side hair as shown below and make a braid.
Make the same braid on the left side and secure both braids and the remaining hair into a ponytail.
I took a small amount of hair and wrapped around the ponytail and secure.

Thursday

Toddler Simple Pony

This is truly a simple ponytail.  her hair is finally long enough for a ponytail.  We used the flat iron to give the ponytail really cute curls.  I posted a couple of pictures to show everyone the personality of my little Monkey.
The key to keeping the ponytail looking smooth is doing it while its wet or using a spray bottle to wet the sides.